Set Up and Register Your Ayla IoT Design Kit to the Ayla Service
Ayla Aura provides a quick and easy path to set up and register your Ayla IoT Design Kit with the Ayla Service:
- Sign in to Ayla Aura, using the credentials (email and password) you entered when creating the Ayla Developer and Ayla Aura accounts.
|
NOTE |
If necessary, click the Forget your password? or Resend confirmation link to reset your credentials. |
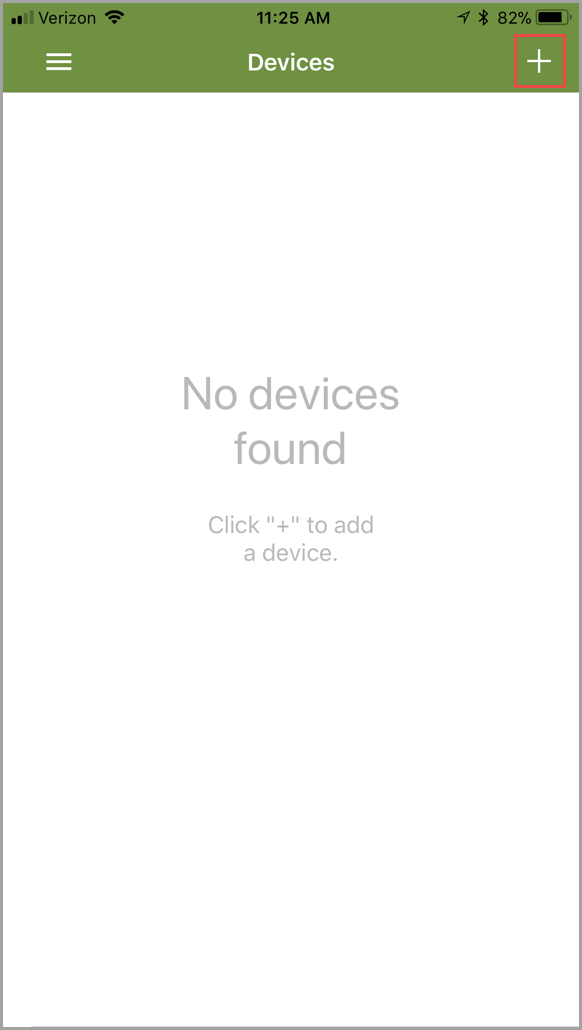
- Tap + in the top right corner of your screen, as shown:
|
NOTE |
If necessary, click the Forget your password? or Resend confirmation link to reset your credentials. |
- Tap Ayla EVB, as shown:

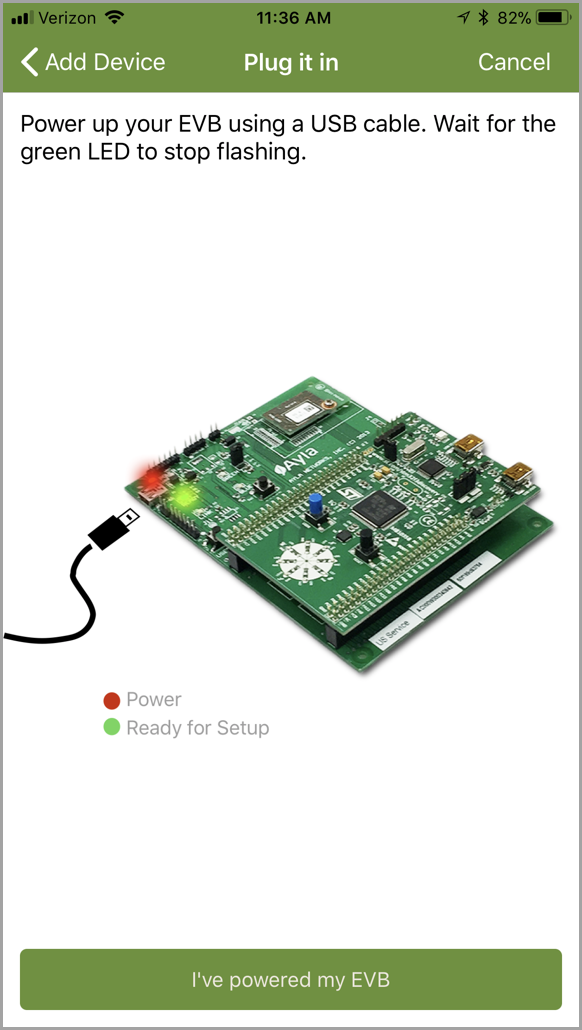
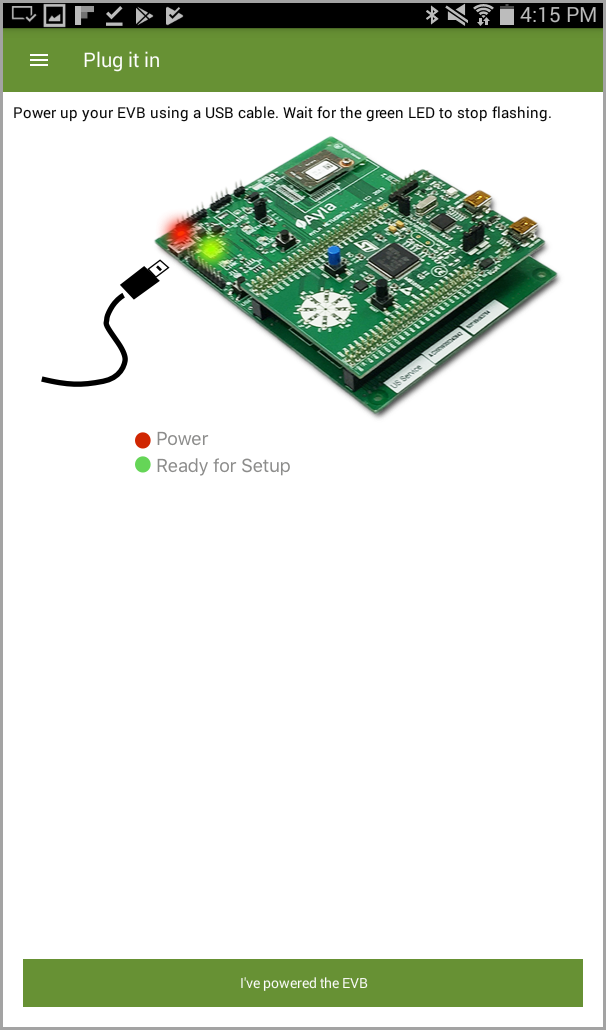
- Power up your Ayla IoT Design Kit if you have not done so already, and then tap I've powered my EVB at the bottom of the screen (as shown in the example below):
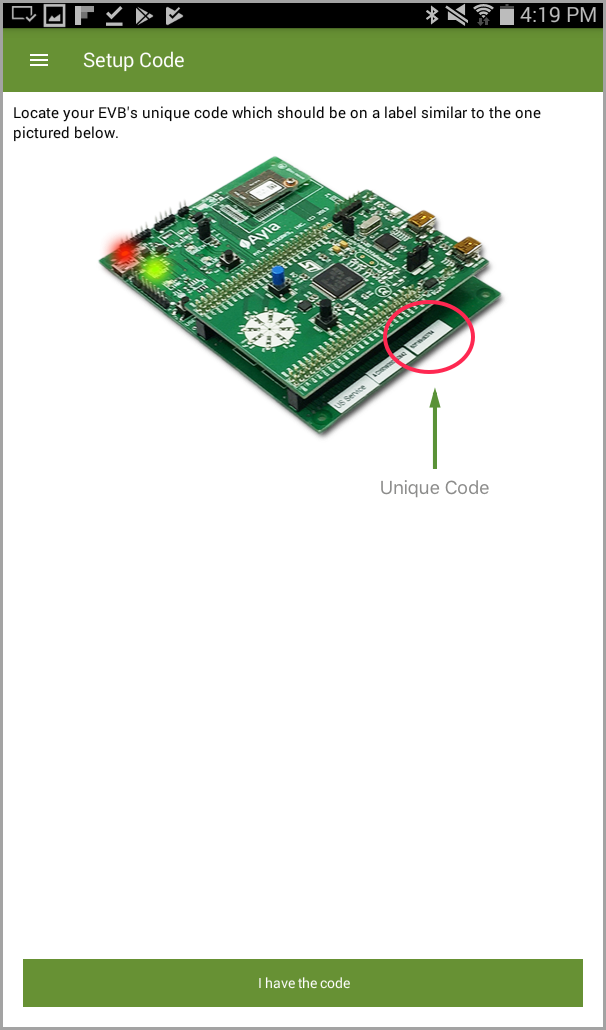
- Locate the Unique Code for your EVB as prompted and shown on this screen:
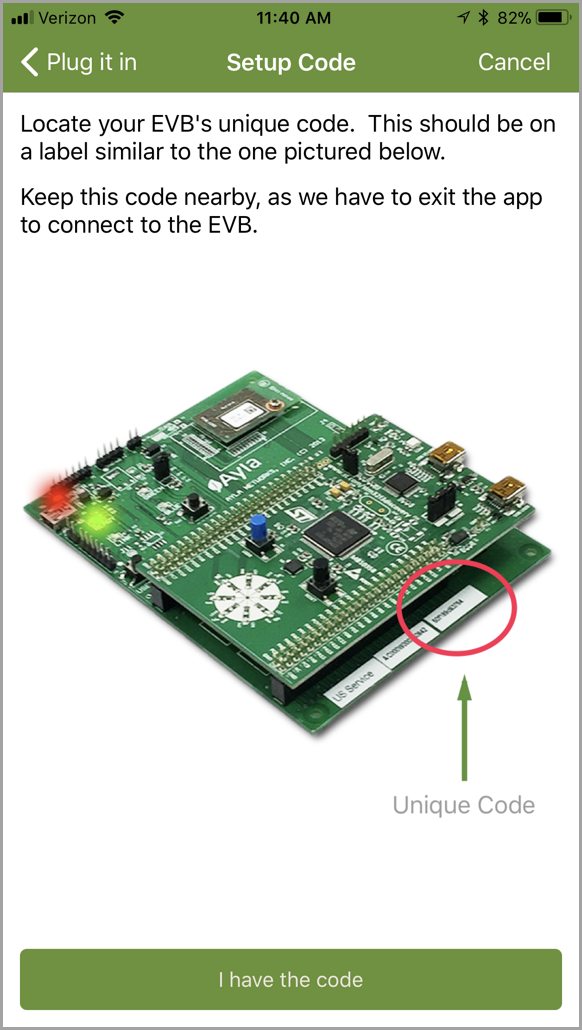
- Tap I have the code at the bottom of the screen (shown in step 5) to display following screen:
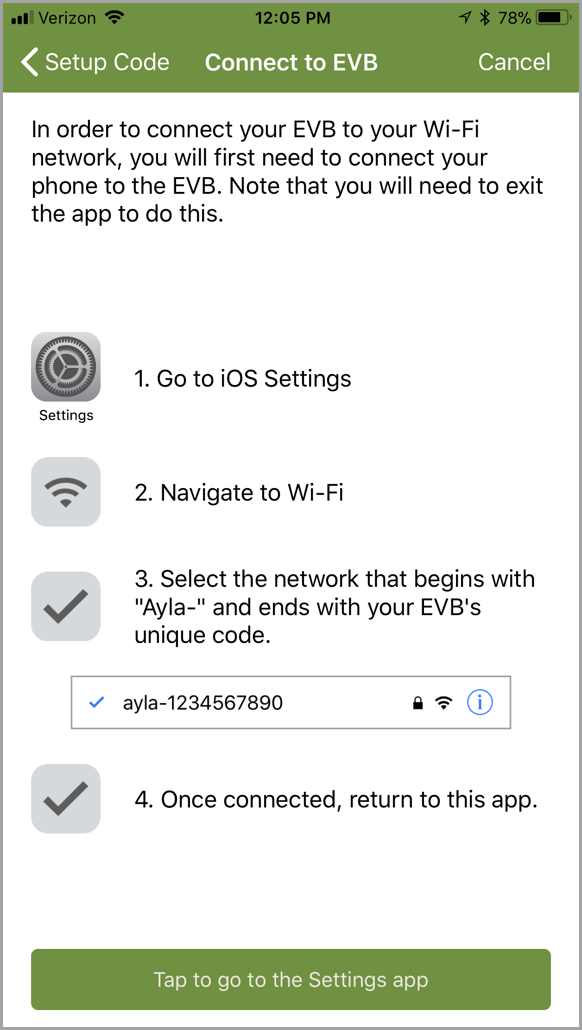
- Follow the steps below (7a - 7d) to connect your phone to your Ayla Networks Board:
7a. Tap Tap to go to the Settings app (on the screen shown in step 6) to begin.
|
IMPORTANT! |
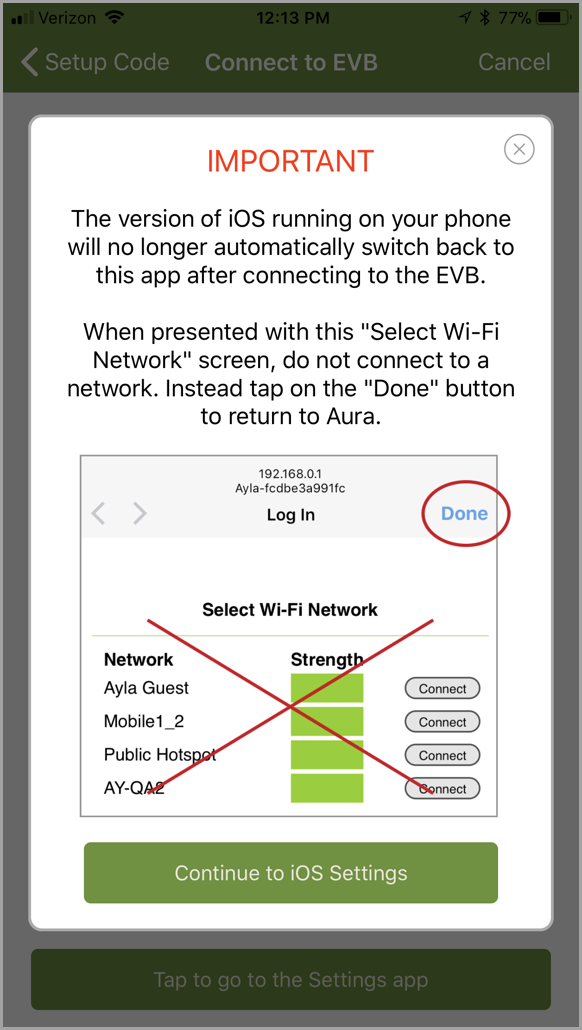
If the IMPORTANT note screen displays (as shown below), read the information carefully and follow the instructions. Tap Continue to iOS Settings to continue, then proceed to step 7b below. |
7b. If you did not receive the IMPORTANT message shown in step 7a, tap the Settings icon (shown below) on your Home screen:
If you received the IMPORTANT message and tapped Continue to iOS Settings, you may have been directed to the Settings screen (shown in step 7c). However, this does not always direct you there. If it didn't, tap the Settings icon on your Home screen (as shown above).
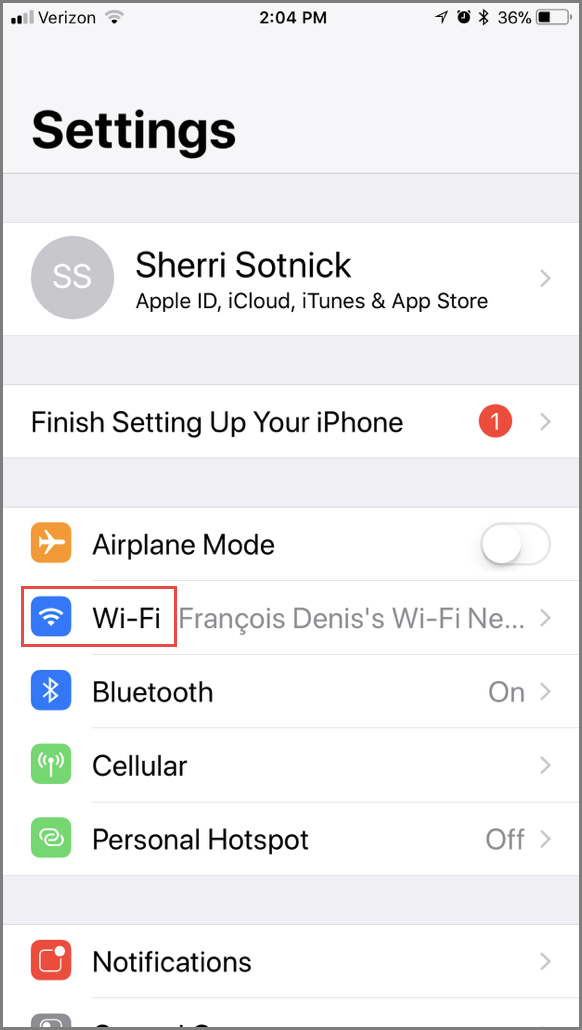
7c. Tap Wi-Fi to open the network options. Refer to the example of this screen below:
7d. Tap the network that begins with "Ayla-" and is followed by your EVB's unique code that you located in step 5. Refer to the examplescreen below:
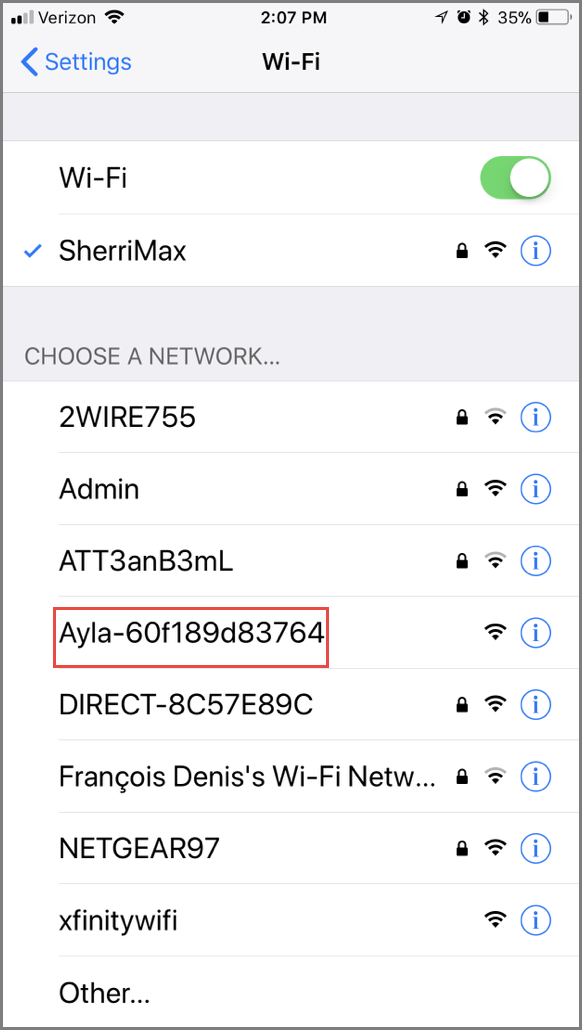
The following screen should display:
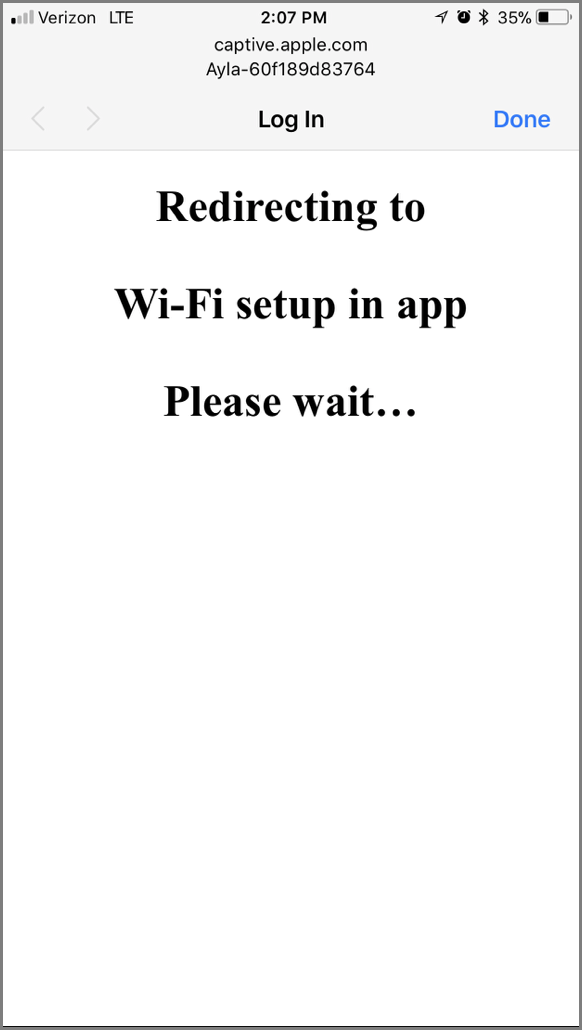
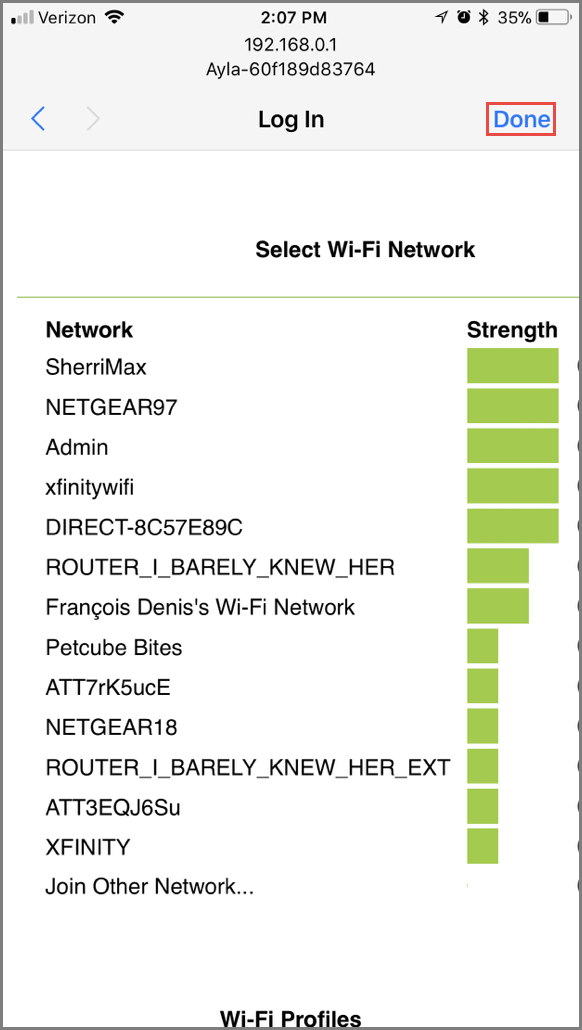
If you received the IMPORTANT message shown in step 7a, click Done in the Select Wi-Fi Network screen (shown below) to return to the Ayla Aura app.
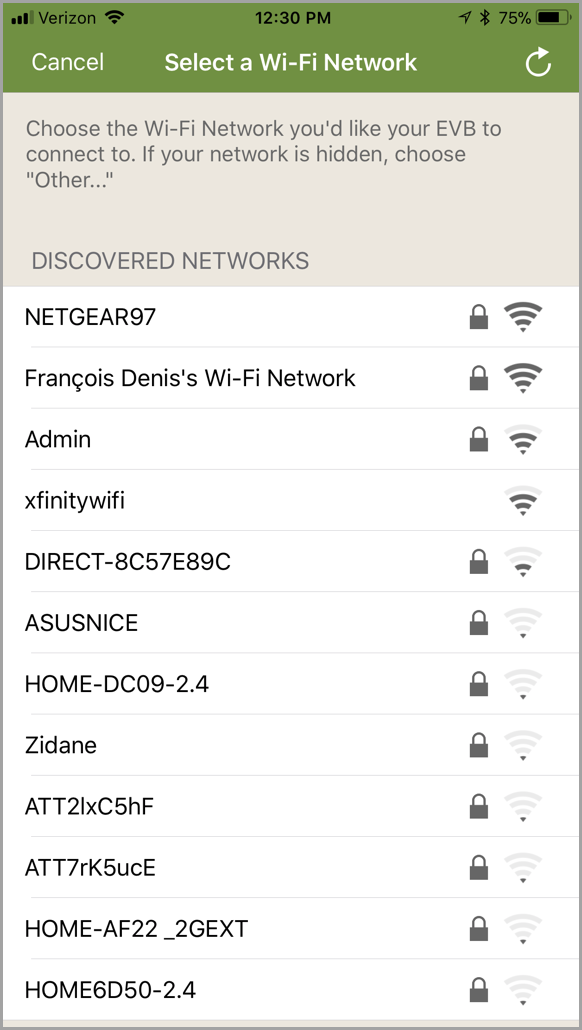
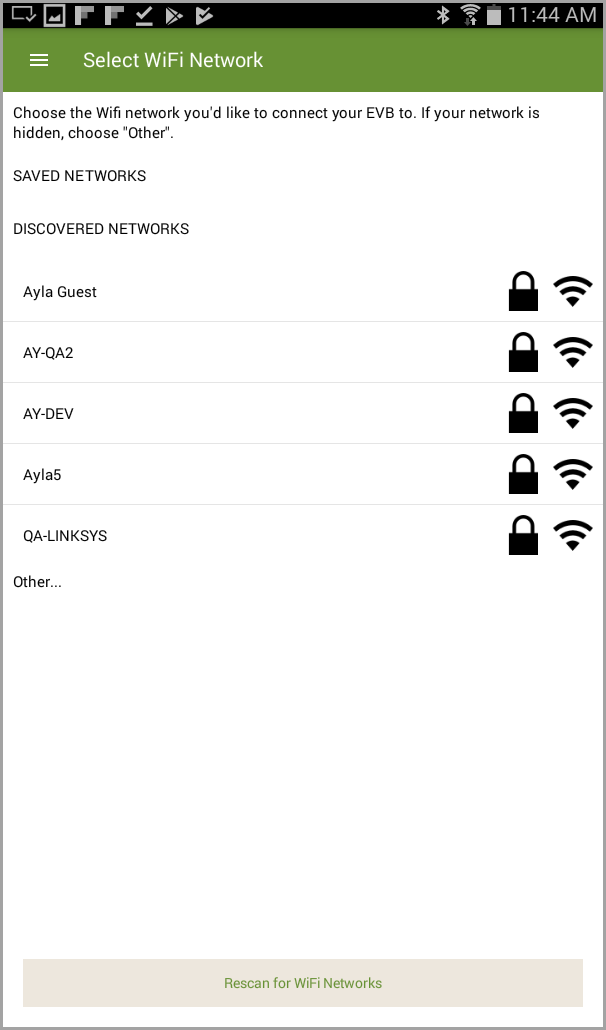
- As prompted, tap the Wi-Fi network you choose to connect to your board (an example of this screen is below):
|
NOTE |
We suggest you choose the same Wi-Fi network that you are already connected to on your phone/tablet. |
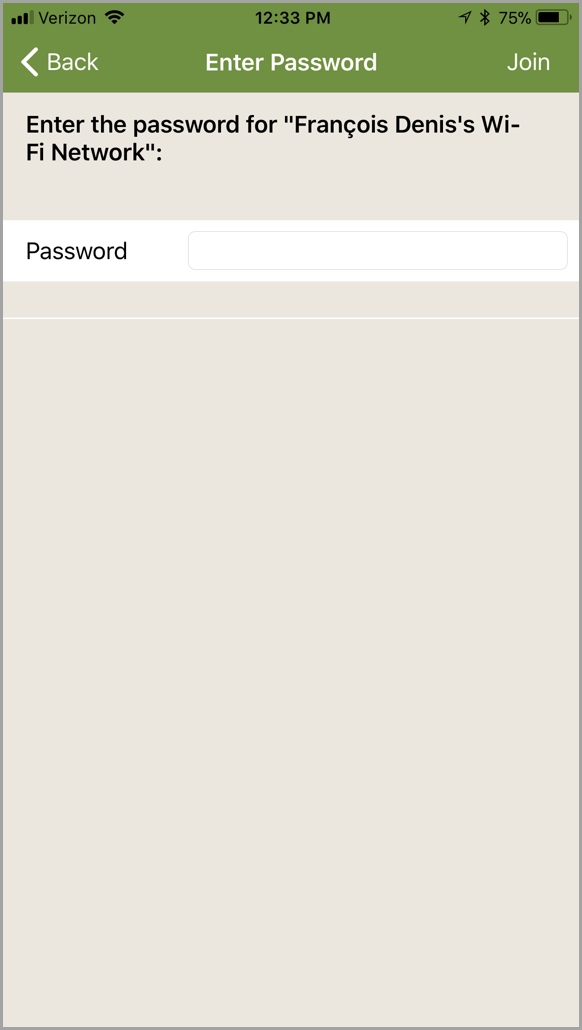
- As prompted, enter the password for the Wi-Fi network selected, and the tap Join. (Refer to the example of the screen below.)
|
NOTE |
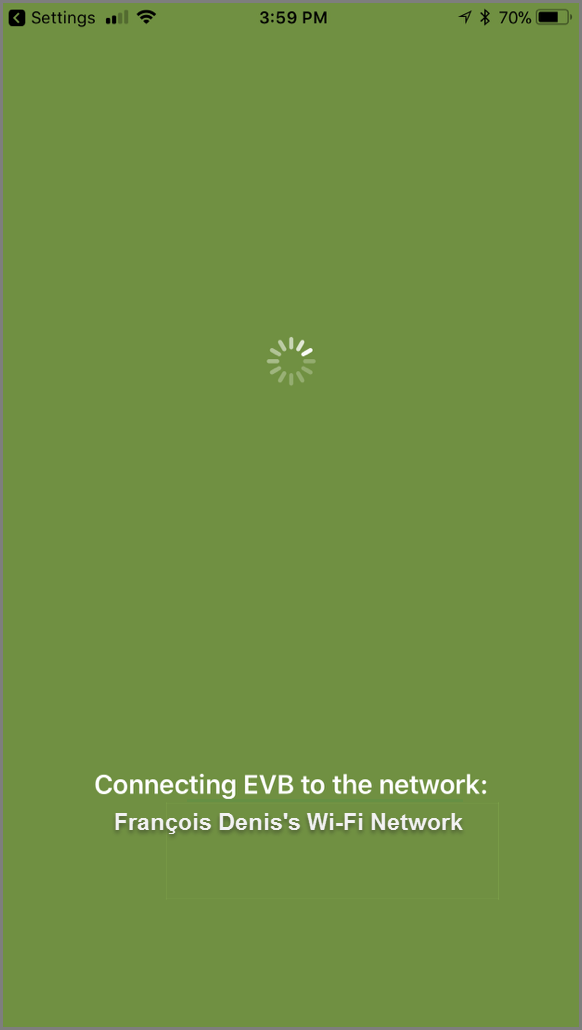
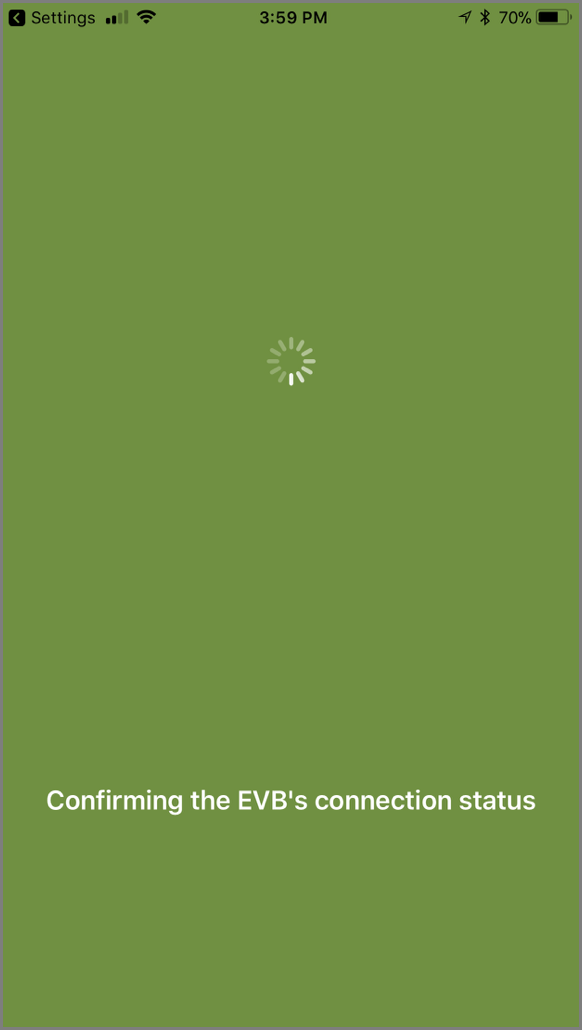
It can take 30 seconds to a few minutes to connect. Following are examples of the screens displayed while attempting to connect to the Wi-Fi network and then once connected, confirming the EVB's connection status. |
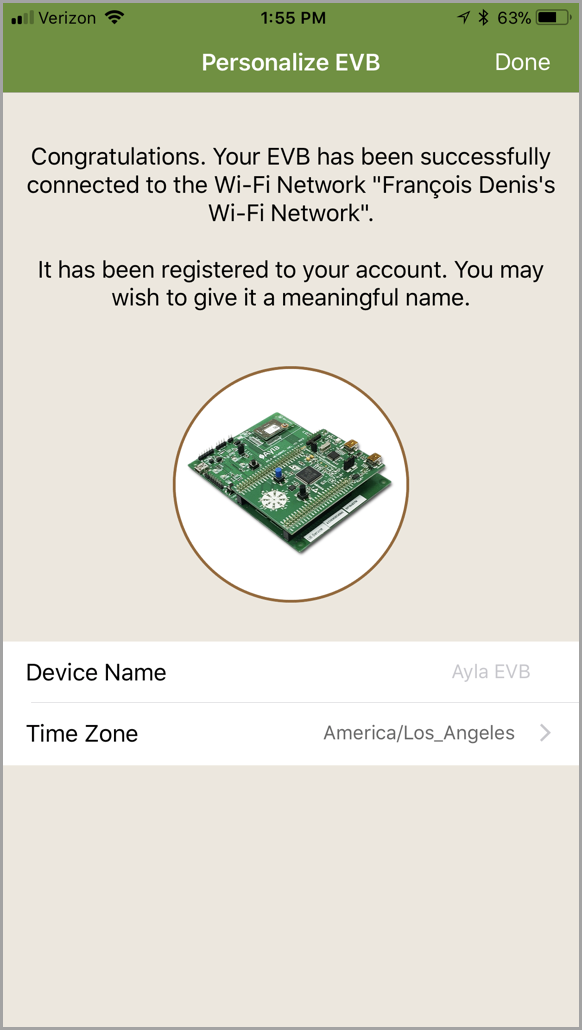
If your board connects successfully, the Personalize EVB screen displays (shown below), which enables you to choose a new device name for your design kit.
|
IMPORTANT! |
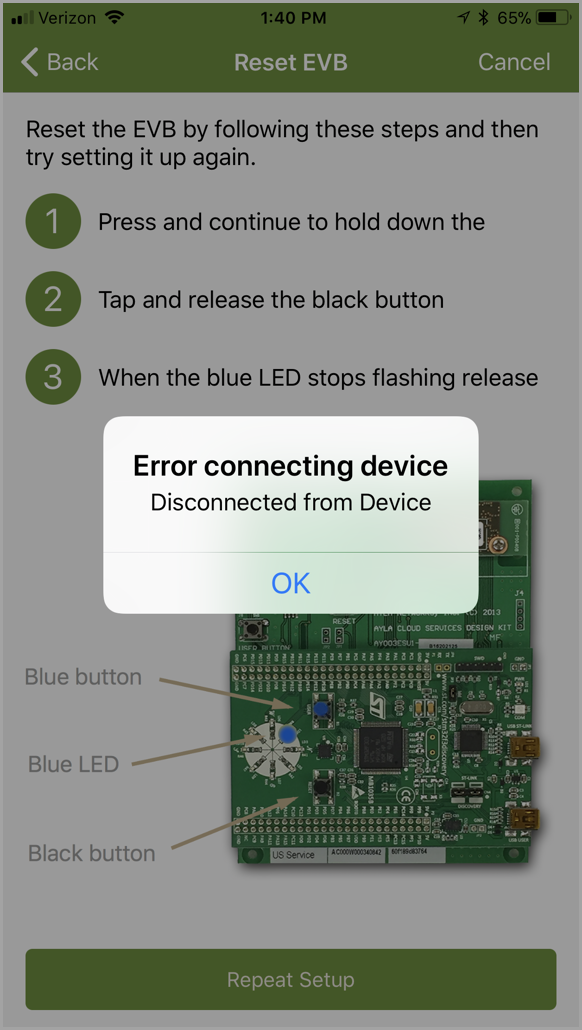
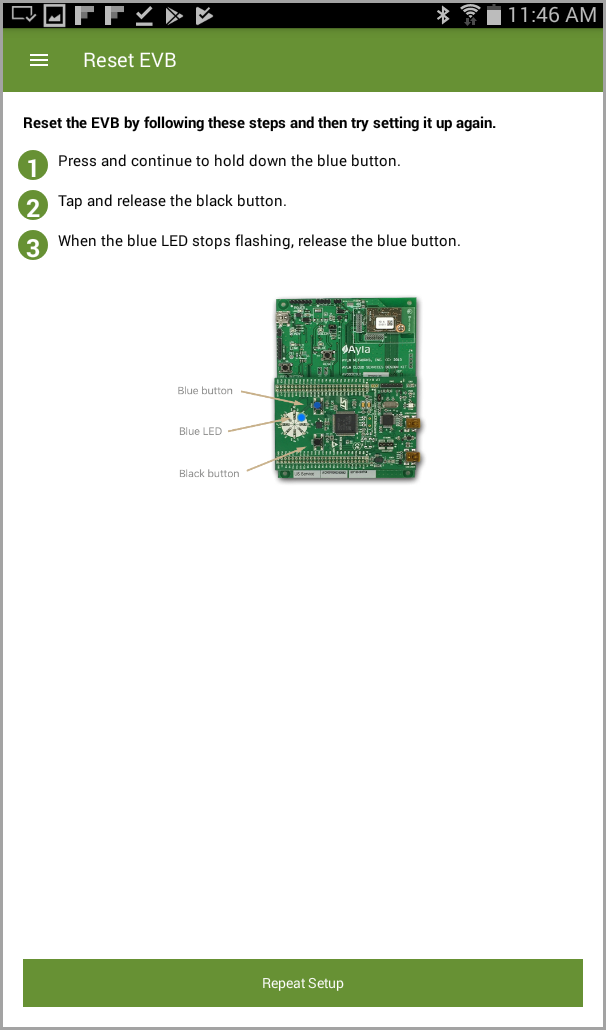
If a problem occurs while attempting to connect, you receive an error message (shown below) and instructions to reset your Ayla Networks Board. Refer to the example of this screen (shown below) when resetting your Ayla Networks Board. Tap OK in the error message and then Repeat Setup at the bottom of the screen to begin. Upon successfully resetting your board, repeat steps 7-9. |
- If you wish to personalize the information for your board, tap the Device Name field to display your keyboard, and then type the new device name.
- If you want to change the time zone, tap the Time Zone field, and then scroll through the list of time zones until the one you want is selected.
- Tap Done in the top right corner to complete the setup and registration. This opens your list of devices, which should include the one you just set up. Following is an example:
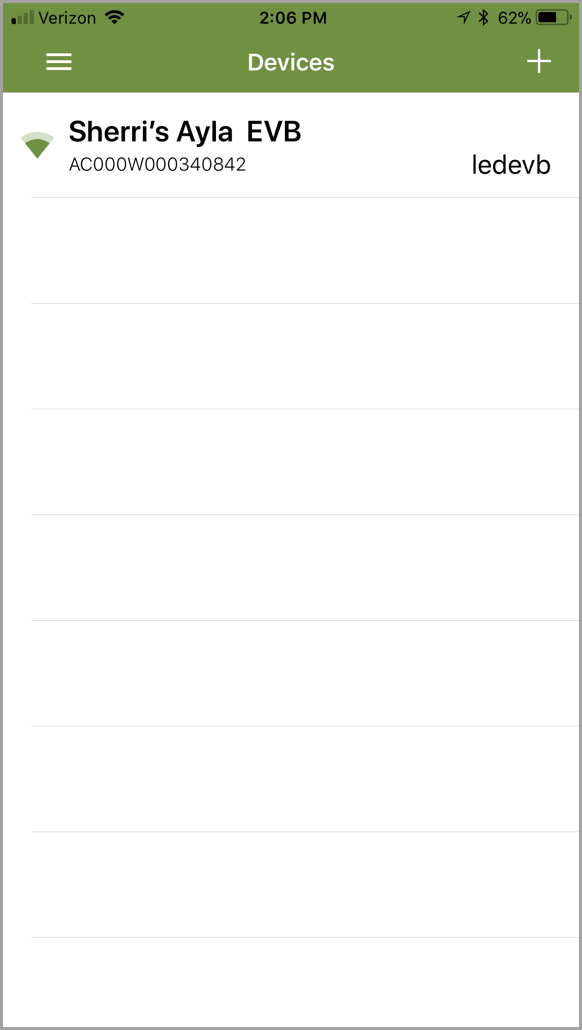
- Sign in to Ayla Aura, using the credentials (email and password) you entered when creating the Ayla Developer and Ayla Aura accounts.
|
NOTE |
If necessary, click the Forget your password? or Resend confirmation link to reset your credentials. |
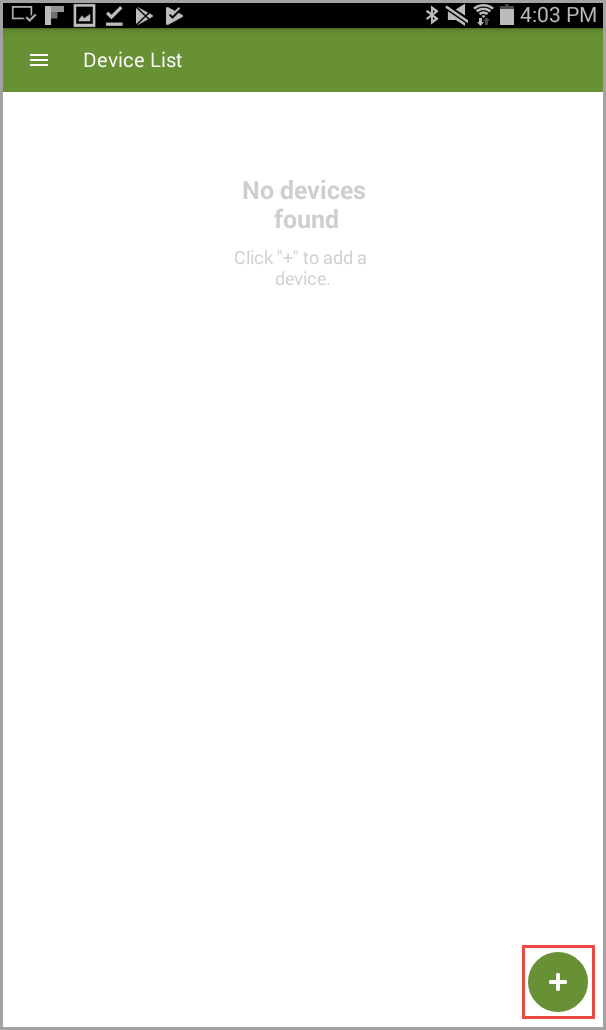
- Tap + in the lower right corner of your screen, as shown:
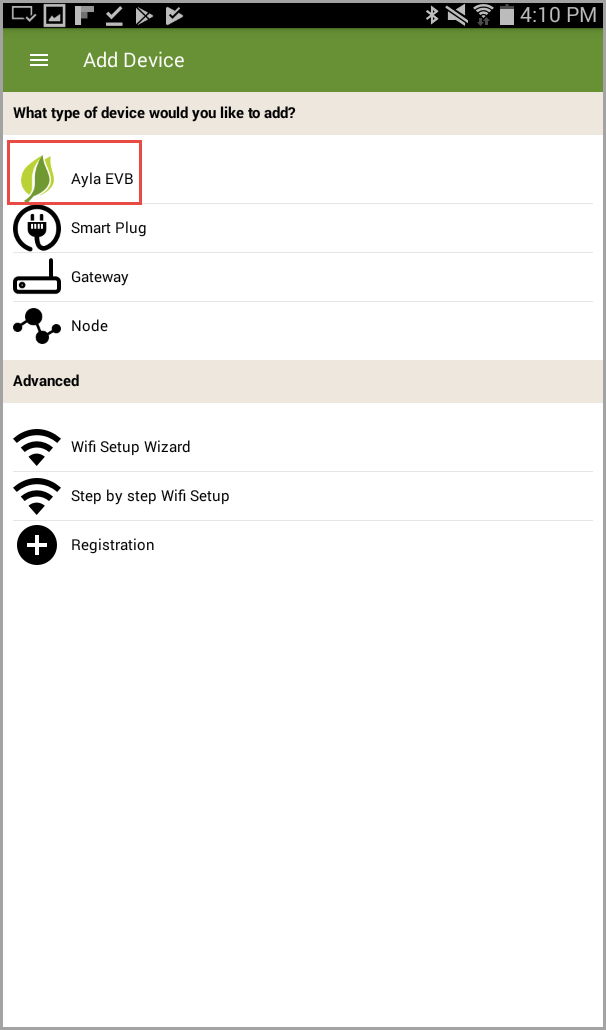
- Tap Ayla EVB (shown below).
|
NOTE |
The Ayla IoT Design Kit is often called an evaluation board (EVB). |
- Tap I’ve powered my EVB at the bottom of this screen (which instructs you to power up your EVB). The screen looks like the example below.
- Locate the Unique Code for your EVB as prompted, and then tap I have the code at the bottom of the screen. (Following is an example of this screen.)
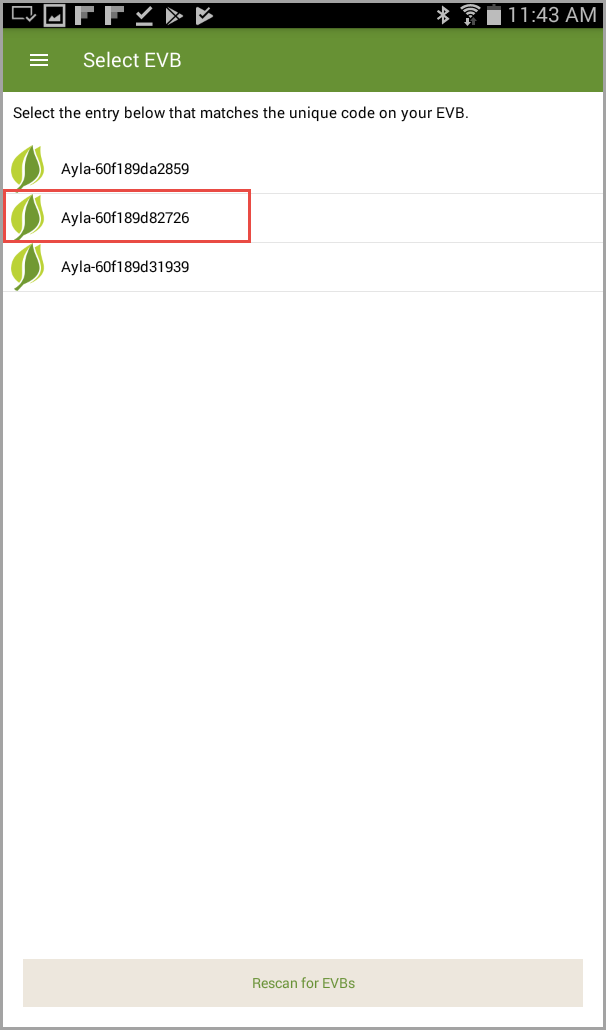
- Tap your EVB in the list, which is shown as "Ayla-" plus the Unique Code for your EVB. (Refer to the following example.)
|
NOTE |
If you don't see the Unique Code for your EVB in the list, click Rescan for EVBs. You may have to do a Factory Reset; if so, the screen below appears, which provides instructions on this. Once you complete the Factory Reset, you must repeat steps 3-6. |
- Now that you have connected your EVB, tap the Wi-Fi network to connect to your EVB, as shown in the following example:
|
NOTE |
If you don't see your Wi-Fi network in the list, click Rescan for Wi-Fi Networks. |
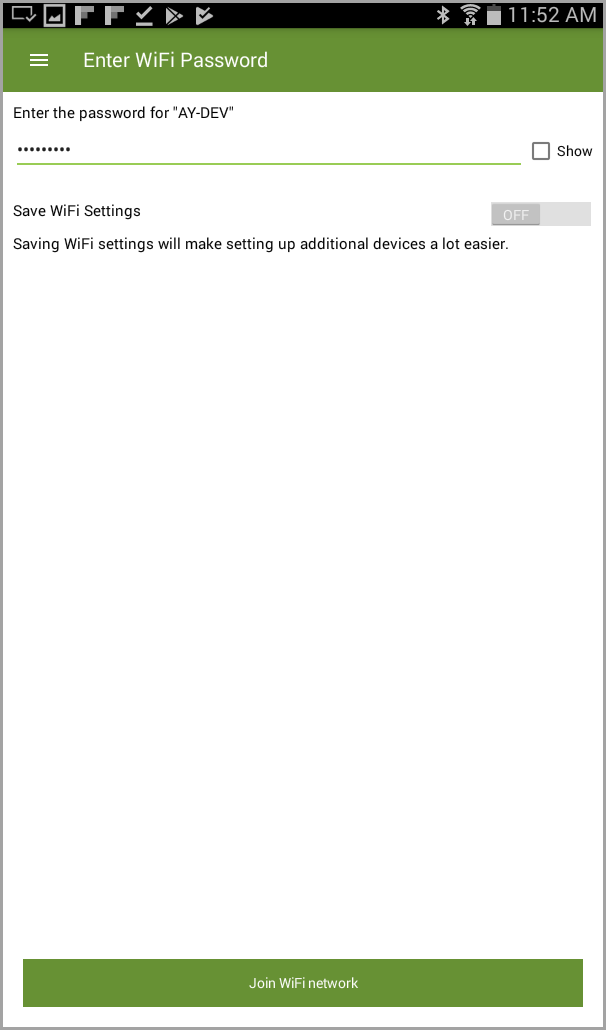
- Enter the password for the Wi-Fi network you selected, and then tap Join Wi-Fi network. (Refer to the example below the note.)
|
NOTE |
You can save your Wi-Fi settings, so that you don't have to enter your password when you use that network to connect to the EVB in the future. To do this, slide the control for Save WiFi Settings to the ON position. |
|
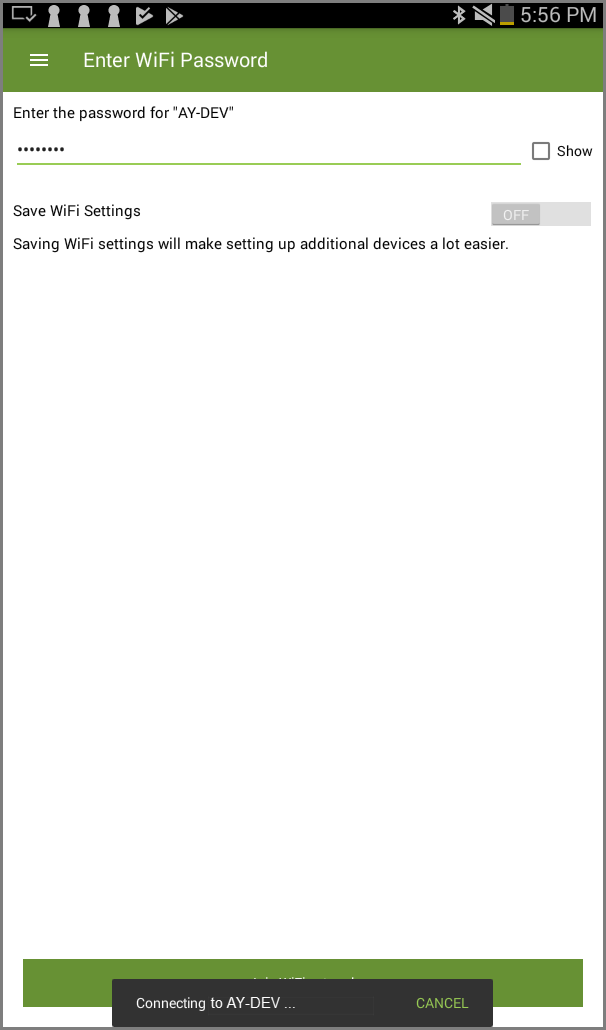
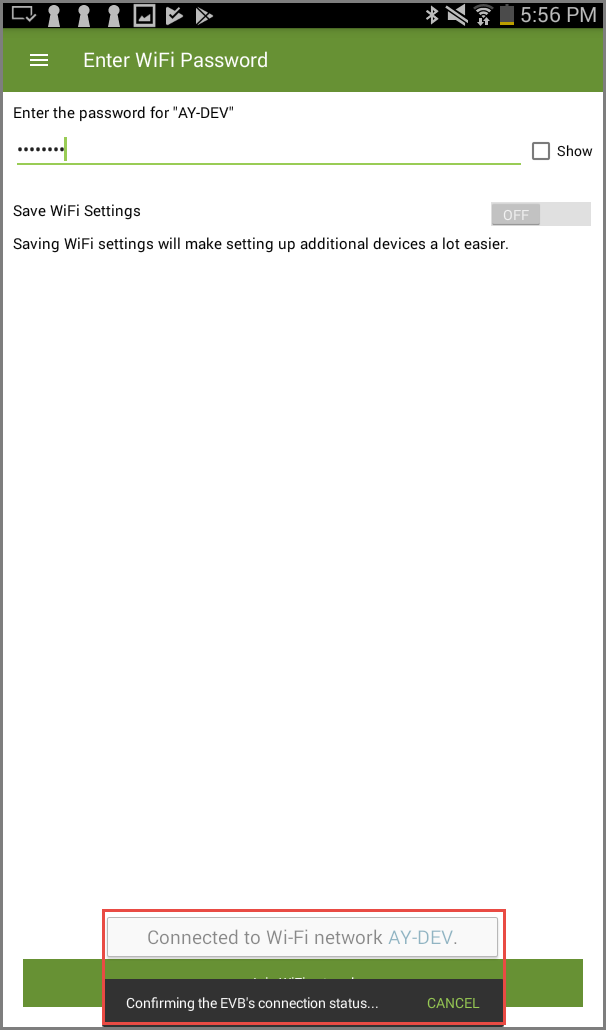
NOTE |
It can take 30 seconds to a few minutes to connect. Following are examples of the screens displayed while attempting to connect to the Wi-Fi network and then once connected, confirming the EVB's connection status. Notice also in the second screen that a message displays stating that the Wi-Fi network is connected along with the status message for confirming the EVB's connection.. |
If your board connects successfully, the Personalize EVB screen displays (shown below), which enables you to choose a new device name for your Design Kit.
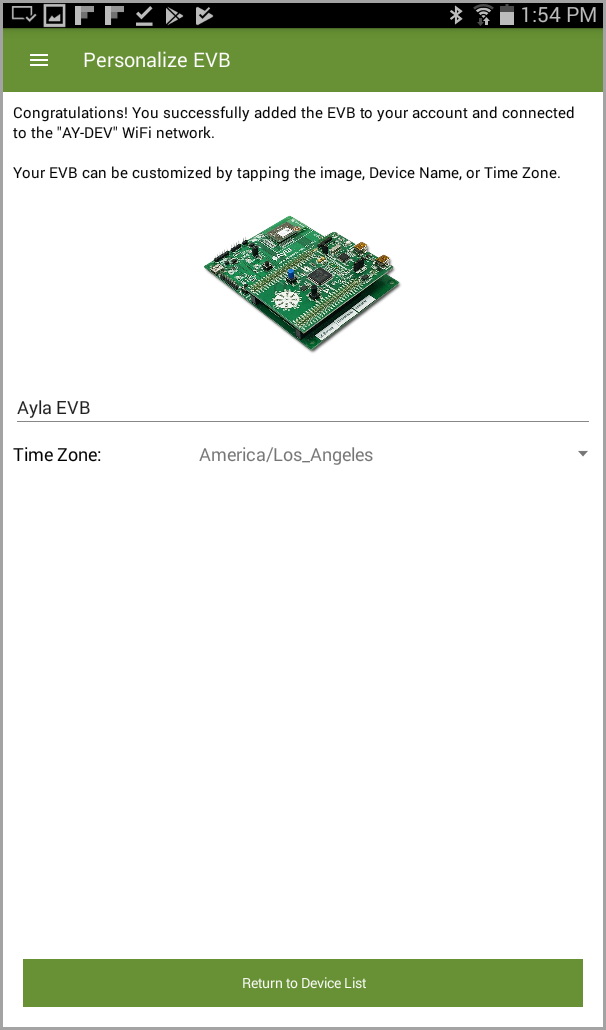
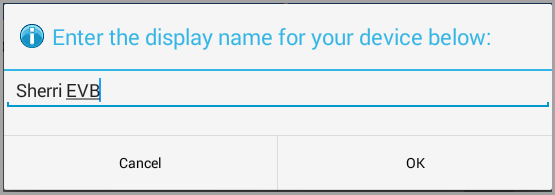
- If you wish to personalize the information for your board, tap the current name of the device shown on your screen, and then type the new device name in the dialog box that displays, as shown below:
- If you want to change the time zone, tap in the Time Zone field, and then scroll through the list of time zones until the one you want is selected.
- Tap Return to Device List at the bottom of the screen to complete the setup and registration.